
Decorating the walls of your home and giving them an elegant look has always been one of the main goals of home decoration. There are many ways to achieve the desired aesthetic effect, but one of them especially attracts attention with its uniqueness and gives the walls originality – it is textured plaster. In this article, we will take a detailed look at how to apply textured plaster and why it has become a popular choice for wall decoration in many homes and spaces.
What is textured plaster
Textured plaster is a material that is used for wall decoration and gives the opportunity to create various textural effects and patterns. It consists of a basic plaster mixture that contains sand, cement, polymers and other additives that improve its characteristics. The main feature of textured plaster is that it is applied to the surface of the wall in such a way that it creates relief details that can have different shapes, textures and depths.
Why textured plaster is used for wall decoration:
- Aesthetic effect: Textured plaster allows you to create a unique texture on the walls, which gives the room elegance and originality. It adds depth and movement to walls, creating interesting visual effects.
- Masking defects: If the walls have small irregularities, cracks or other defects, textured plaster can perfectly mask them. It creates a relief surface that visually smooths out imperfections, making the walls more attractive.
- Surface protection: Textured plaster creates an additional protective layer on the walls, which helps prevent damage and contamination. It can be stronger and more resistant to mechanical damage than ordinary paints or putty.
- Variability of design: Textured plaster is available in different types and colors, which gives many opportunities for choice and experiments with design. It can emphasize a certain style of room decoration or become an accent element in the interior.
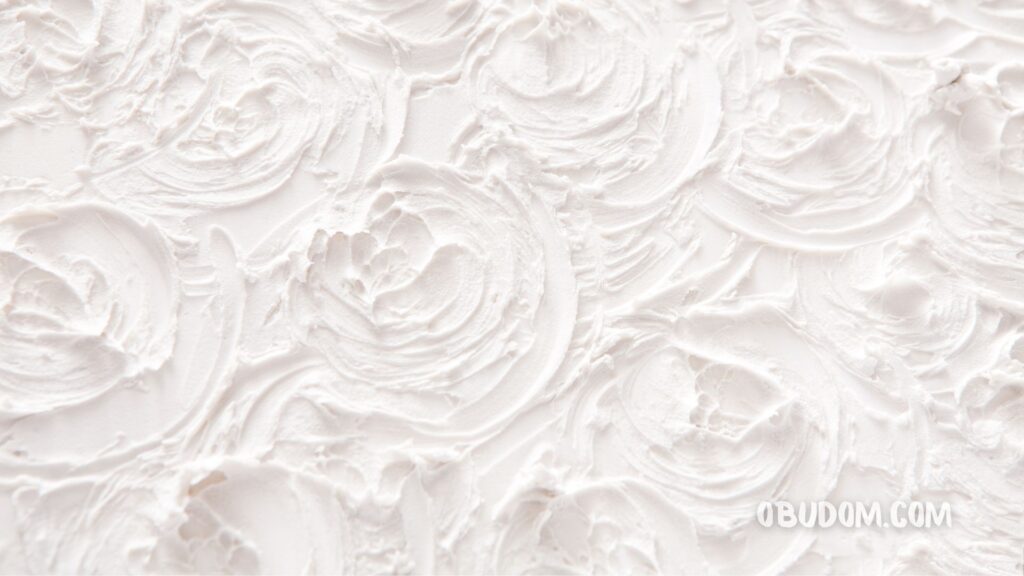
Textured plaster is a great way to give walls uniqueness and create a special atmosphere in any room. In the following sections, we will take a closer look at the process of applying textured plaster and give you useful tips on how to achieve the best result.
Selection of materials and tools
Overview of different types of textured plaster and their characteristics: There is a large selection of different types of textured plaster on the market, each of which has its own characteristics and characteristics. When choosing the right type of plaster, it is important to consider the following factors:
- Type of substrate: Some types of plaster are suitable for all types of surfaces, including concrete, plasterboard, brick, etc. Others may be intended for specific bases, for example, for walls that are already covered with paint or putty.
- Texture and pattern: Choose a plaster with a pattern and texture that you like and matches your interior style. Some popular options include drevko, rakushnyak, shipuchka, ramen, and others.
- Functionality: Some types of plaster have additional functions, such as noise insulation, fire resistance, moisture protection. Consider your needs and choose a plaster that meets the requirements of your room.
Recommendations for the selection of preparatory materials, glue, paint, etc.: Preparation of the surface before applying textured plaster is of great importance for obtaining a high-quality result. For this you will need the following materials:
- Primer: Choose a primer that is suitable for your type of surface. The primer will ensure better adhesion of the plaster to the wall and will help avoid the appearance of bubbles or chips.
- Preparatory materials: Some additional materials may be needed to level unevenness or repair damage to the wall. It can be putty, gypsum paint, gypsum mixture or others.
- Adhesive: Use a high-quality textured plaster adhesive that will ensure a strong bond between the plaster and the wall surface.
List of necessary tools and explanation of their use: To apply textured plaster, you will need the following tools:
- Trowel: It is used to evenly apply plaster on the surface of the wall. The trowel helps to create a smooth and even base before plastering.
- Trowel or Spatula: These tools are used to create the desired texture and pattern of plaster. They help to stretch the plaster and create relief details.
- Drawing or roller: These tools are used to apply plaster to the wall and spread it evenly over the surface. They help save time and effort when applying plaster.
- Brushes or sponges: These tools are used to remove excess plaster or smooth the texture. They allow you to further adjust the appearance of the plaster.
Given the right choice of materials and the availability of the necessary tools, you will be ready for the process of applying textured plaster to your walls. Remember that the quality of materials and the use of the right tools affect the final result, so carefully approach their selection and prepare for the next stage – surface preparation before plastering.
Surface preparation
Before starting the application of textured plaster, it is necessary to properly prepare the surface of the walls. This stage is critical for achieving a high-quality and long-lasting result. Below are the steps to follow:
Cleaning the walls from dirt, dust and old layers of paint:
- Remove all furniture, pictures and other objects from the walls.
- Using a soft brush or a vacuum cleaner with a wall cleaning attachment, remove dust, cobwebs and other dirt from the surface of the walls.
- If there are old layers of paint on the walls, remove them with a spatula or sander. If necessary, use a paint thinner to remove the paint. Make sure that the wall is completely cleaned of the old coating.
Cleaning of irregularities and cracks on the surface of the wall:
- Inspect the walls for any irregularities, protrusions, pits or cracks.
- With the help of a putty knife or coarse sandpaper, remove irregularities and protrusions on the surface of the walls.
- If there are cracks, widen them with a knife or putty knife, and then fill with special putty for cracks or gypsum mixture. Carefully smooth the surface to eliminate unevenness.

Priming walls for better adhesion of textured plaster:
- Choose a primer that is suitable for the type of wall surface and textured plaster you plan to use.
- Using a roller or brush, apply the primer to the walls. Remember that the primer must be applied evenly and allowed to dry completely according to the manufacturer’s instructions.
- Priming will help to improve the adhesion of the plaster to the wall surface, prevent the formation of bubbles and increase the durability of the coating.
Surface preparation is an important step before applying textured plaster, as it provides a smooth, even and stable base for the plaster. Remember that the quality of surface preparation directly affects the final result and duration of the coating.
Application of textured plaster
Textured plaster is a material that allows you to create various textural effects on the walls. Before applying textured plaster, it is important to understand the work process and perform it correctly. Below are the steps you should follow:
Material preparation:
- Before starting work, thoroughly mix textured plaster according to the manufacturer’s instructions. Make sure it has a uniform consistency.
- If necessary, dilute the plaster with water according to the manufacturer’s recommendations, observing the proportions.

Application techniques:
- Horizontal application: A horizontal movement of the hand or tool is used when applying plaster to the wall. This method allows you to create a horizontal texture that gives the room a sense of width and space.
- Vertical application: A vertical movement of the hand or tool is used when applying plaster to the wall. This method creates a vertical texture that can give a room a sense of height and elegance.
- Oblique application: When plaster is applied obliquely, the movement of the hand or tool is carried out at an angle. This method allows you to create a slanted or diagonal effect that can add dynamism and interest to walls.
Recommendations for layering and creating the desired texture:
- Apply the first layer of textured plaster to the wall using a trowel or spatula. Spread it evenly over the surface. Pay attention to the thickness of the layer, which depends on the selected texture.
- Allow the first coat to partially dry before applying the next coat. Refer to manufacturer’s instructions for drying time between coats.
- When applying subsequent layers, you can change the direction and application technique to create a multifaceted texture.
- To create depth and volume, you can use different tools, such as a trowel with a grooved surface, a sponge or an ironing trowel with special patterns.
It is important to remember that practice is the key to achieving the desired texture. Experiment with different application and layering techniques to find the best way to bring your ideas to life. Do not be afraid to try new methods and give free rein to your creativity to create a unique interior using textured plaster.
Decoration and finishing
Textured plaster opens up many possibilities for creative decoration of your premises. After applying the plaster, you can add additional decorative effects, give the walls a special look and realize your design ideas. Below we will consider some options for decorating and finishing textured plaster:
Creative design:
- Add accent elements: Highlight certain areas of the wall or individual details by applying a different color plaster or changing the texture. This will allow you to create game effects and give the walls sophistication.
- Combining materials: Combine textured plaster with other materials, such as wood, metal, glass. This will allow you to create an interesting design and express your unique style.
- Relief details: Use special tools or templates to create relief details on plaster. This will add depth and dynamics to the walls and create a special atmosphere.
Decorative techniques:
- Painting: After applying textured plaster, you can use acrylic paints or special decorative paints to create drawings, geometric patterns or abstract elements.
- Glazing: The use of glazes or toning varnishes will allow you to add depth and sophistication to textured plaster. Glaze can be applied over plaster to create a soft iridescence of color and shine.
- Antique effect: The use of special patinas and aging will help to create an antique effect on textured plaster. This will add an atmosphere of antiquity and elegance to the walls.

Choice of color and use of paint:
- Color selection: When choosing a textured plaster color, consider the overall style of the room, lighting, and personal preferences. Color can give a room warmth, peace, energy or coziness.
- General harmony: Remember the harmony between the color of textured plaster, other decoration elements and furniture in the room. Choose colors that complement and emphasize the overall design.
- Using paint: After applying textured plaster and finishing, you can protect the surface and give it a richer color by applying paint. Choose a high-quality paint that is suitable for the textured plaster and the selected design style.
Remember that decorating and finishing textured plaster is an opportunity to realize your creativity and create a special interior. Experiment with different techniques, materials and colors, but you should also remember the general harmony and style of the room. Enjoy the process and create a unique atmosphere in your room.
Care and maintenance
After finishing work with textured plaster, it is important to ensure proper care in order to preserve its appearance and enjoy the excellent result for a long time. Below are some recommendations for the care and maintenance of the appearance of textured plaster:
Regular cleaning:
- Regularly clean the surface of textured plaster from dust and dirt. Use a soft brush or dry microfiber to gently clean the surface.
- Avoid using harsh or abrasive cleaners such as rough sponges, stiff brushes or abrasive cleaners as this can damage the textured plaster.
Preventing damage:
- Avoid impact or excessive force on the textured plaster surface. Vulnerable parts that protrude may be particularly susceptible to injury.
- Protect the textured plaster from contact with sharp objects or objects with a rough surface that can damage the texture.
Repair and retouching:
- In the event of minor damage or chipping of textured plaster, contact a specialist for professional repair. Try to avoid self-correction, as this can make things worse or create visible defects.
Color retention:
- If you want to preserve the brightness and color intensity of textured plaster for a long time, avoid direct sunlight on the surface. Use window coverings that reduce direct solar radiation.
Regular inspection:
- Inspect textured plaster from time to time, especially in wet or high-wear areas. Detect any changes or problems that may arise in a timely manner.
Professional service:
- It is recommended to periodically contact professionals for the maintenance of textured plaster, especially if there is a need for restoration or repair. This will help preserve the appearance and duration of the coating.
Proper care and maintenance of textured plaster will help maintain its attractiveness and durability for many years. Regular cleaning, damage prevention, professional repair and color preservation are key factors in maintaining the perfect appearance of textured plaster in your interior.

Final tips
Here are some useful tips that will help you successfully apply textured plaster and achieve impressive results:
- Proper preparation: Allow enough time to prepare the surface. Clean the walls from dirt and dust, fill the cracks and level the unevenness. Priming the walls before plastering is also important to achieve better adhesion.
- Experiment with textures: Use different application techniques, such as horizontal, vertical or diagonal, to create unique textural effects. Experiment with different tools and layering to achieve the desired texture.
- Creative design: Use the possibilities of textured plaster for creative design. Add accent elements, combine different materials and apply decorative techniques such as painting or glazing to create a unique interior.
- Careful care: After completion of work, ensure regular care of textured plaster. Clean it of dust and dirt, avoid damage and carry out repairs on time. Preserving the color and proper appearance will help keep textured plaster attractive for a long time.
In this article, we considered the main steps of applying textured plaster, from surface preparation to decoration and maintenance. Textured plaster is a great way to give the walls an original look and create a unique atmosphere in your room.
We call you to action! Start implementing your design ideas with textured plaster. Experiment, create and transform your walls into design masterpieces. Do not be afraid to choose new techniques and materials, but always remember the basic principles of preparation and care.
We wish you success in applying textured plaster! Let your walls become the embodiment of your creativity and style, adding a special charm to your home interior.